An oil filter is a device designed to remove contaminants from engine oil. Engine oils can contaminate dirt, dust, metal shavings, and other debris. It can cause the engine to fail prematurely due to wear and tear. Car filters are made from various materials, but the most common are metal and paper. Metal oil filters are typically more expensive than paper filters but are also more effective at removing contaminants. Paper filters can become clogged over time, leading to decreased oil flow and engine failure. It is essential to replace your filter regularly – even if your vehicle doesn’t appear to be experiencing any problems. Periodically replacing your filter will help ensure that your engine remains in good condition and that you avoid any potential mechanical issues. Changing your filter is an integral part of changing your oil, and it’s a job that can be done with just a few essential tools. The blog will walk you through the five easy steps to changing your filter. You’ll need a socket wrench, a filter wrench, and a torque wrench. If you have those tools, you’re good to go!
Open the Hood and Locate the Filter
- It’s usually located near the engine and will be a circular object with cartridge-style housing.
- Unscrew the filter housing by turning it counterclockwise.
- Remove the old filter and dispose of it properly.
- Lubricate the new filter with a light oil coating, then screw it into place by turning it clockwise.
- Close the hood.
- Start the vehicle to check for leaks.
Unscrew the Filter
The initial step in changing the filter is to unscrew the old one. It can be tricky, but with a little effort, you should be able to get it undone. Once the old filter is out, clean the area around it so there’s no dirt or gunk left behind. It will help ensure a good seal when you screw in the new filter.
Wipe the Filter Mount Clean
Before installing the new filter, take a moment to clean the filter mount. It will ensure a good seal and prevent any oil from leaking out.
Screw on the New Filter
Once you’ve got the new filter, it’s time to screw it on. Make sure the gasket (the black ring on the bottom of the filter) is in place and facing up, then slowly tighten the filter onto the housing. Don’t over-tighten it; you could damage the seal and cause leaks.
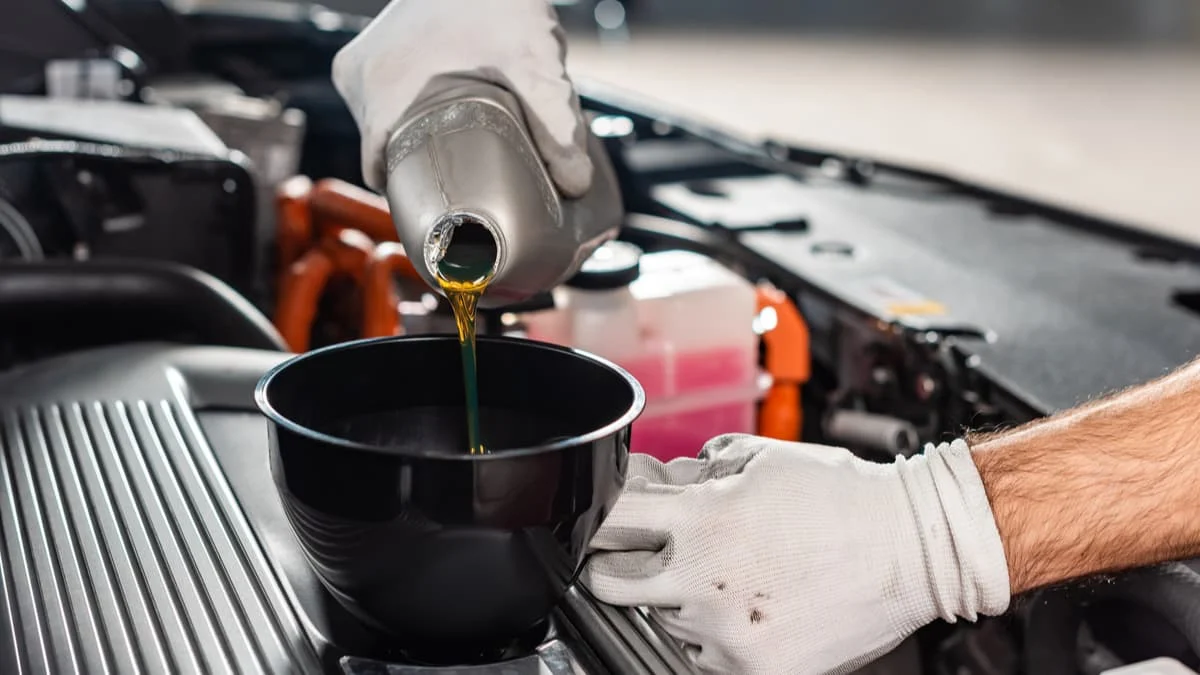
Pour in New Oil
Now that your old filter is swapped out for a new one, it’s time to pour in some fresh oil. Make sure to use the type of oil recommended in your car’s owner’s manual, as using the wrong type of oil can damage your engine. If you’re unsure how much oil to put in, it’s better to err on caution and put in too little rather than too much. You can always add more later if needed. Once the oil is in, start your engine and let it run for a few minutes so that the new oil can circulate through all of the parts of your engine.
Conclusion
A filter is an engine component that removes contaminants and debris from the engine oil. Over time, oil filters can become clogged with dirt, metal shavings, and other pieces of debris. When this occurs, the oil cannot flow freely through the engine, leading to decreased performance and potential damage. Keeping your filter clean and replaced regularly is essential to ensure optimal engine performance. Changing your filter is a simple process, and following these easy steps will have you done in no time. Be sure to have the correct filter for your car and the necessary tools on hand, and then you’re good to go!