Lately, I have been focusing more on the practical side of things and trying to find new ways to make my own creations for my blog. So, when a friend told me about how she made her purse out of a water bottle pouch, I thought that it would be a fun idea to recreate one for myself. It didn’t take me very long either – here’s what I came up with!
Why do you need a water bottle pouch?
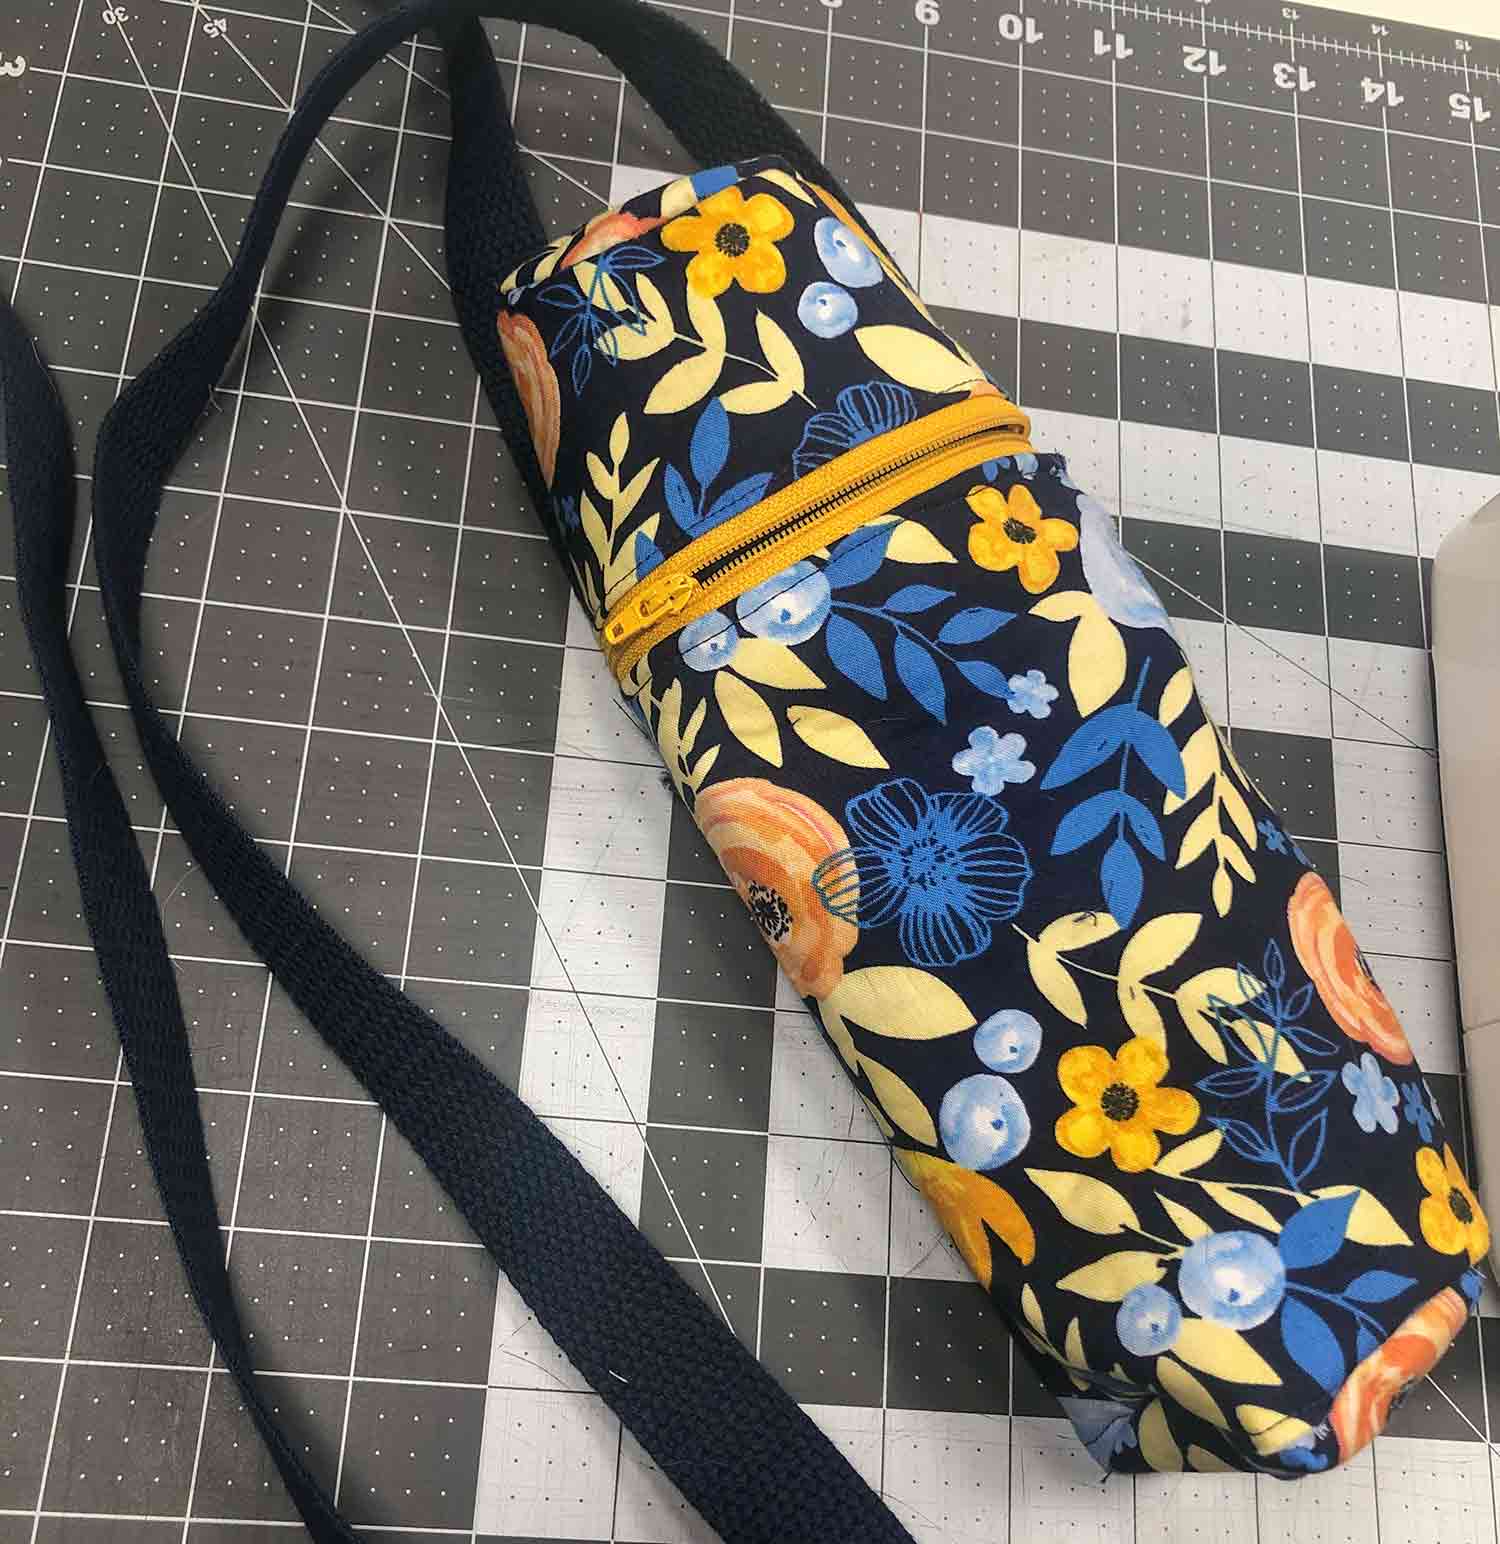
A water bottle pouch is a great way to keep your water bottle organized and safe. It can help you avoid having to search for your water bottle when you need it, and it can also protect your water bottle from getting scratched or damaged. lumbuy pouch
What is needed and materials?
To make a water bottle pouch, you will need: a water bottle, an elastic band, and a fabric or craft knife. You can also use a sewing machine to sew the pouch together if you have one.
First, cut the elastic band to the desired width. Then, cut a piece of fabric or craft paper to fit around the circumference of the water bottle. Make sure that the fabric or craft paper is large enough to cover the entire circumference of the water bottle. Next, use the elastic band to attach the fabric or craft paper around the circumference of the water bottle. Sewing is optional, but it is helpful for adding durability to your pouch.
Instructions
Making a water bottle pouch is easy and a great way to keep your water bottle easily accessible while on the go. You can use any old fabric or fabric remnant you have lying around, and a few simple seam tricks will make it look professional and neat. Here’s how you do it:
1. Select the fabric you want to use for your pouch. Try to find something that is sturdy but also lightweight, so your pouch will not be too heavy to carry around. A cotton or linen fabric works well for this purpose. lumbuy pouch
2. Cut out the pouch using a straight edge and a cutting mat, or use a sewing machine if you have one available. The pouch should be about 18 inches wide by 12 inches tall (45 cm by 30 cm). Do not cut the bottom of the pouch; leave it unsewn so that you can attach it to the water bottle later on.
3. Sew the sides of the pouch together using a zigzag stitch, leaving an unsewn bottom open. Make sure that the seams are lined up perfectly so that they form a smooth curve when finished. Make sure that there are no bubbles in your seams; a good way to check this is to press
Tips to make a water bottle pouch
If you’re looking for a way to organize your water bottles and keep them safe while you’re on the go, a water bottle pouch may be the answer for you. There are a variety of ways to make one, so you can find one that fits your needs and style.
The easiest way to create a water bottle pouch is to use an old T-shirt or shirt sleeve. Cut a hole in the center of the shirt, about an inch wide and deep. Then, cut out a rectangle about an inch wide by 6 inches long. Next, fold the bottom third of the rectangle up so that it forms a lip around the edge of the hole. Finally, fold the top two thirds of the shirt over the lip, creating a pocket. You can now put your water bottles inside the pouch and secure it with a piece of tape or tying it closed with a knot.
Another option is to make a water bottle pouch out of fabric scraps or an old pair of pants. Cut two pockets from different sides of the fabric, each about 2 inches deep by 6 inches wide. Then, sew them together along one edge using bias tape or hemming tape. You can now put your water bottles inside the pockets and
Conclusion
If you’re looking for an easy way to organize your water bottles, look no further than a water bottle pouch. This simple project can be easily completed in just a few minutes and will help keep your drinks neat and tidy while you’re on the go. Plus, it’s a great way to make use of those extra water bottles that might have been collecting dust in your cupboard.